前言:
之前写过一版安装教程,由于V2ray项目的更新了,导致V2ray的配置文件所存放的路径变了,所以重新记录下安装方式。
准备:
- VPS一台
- 域名
教程:
安装宝塔
Centos安装脚本
yum install -y wget && wget -O install.sh http://download.bt.cn/install/install_6.0.sh && sh install.sh
Ubuntu/Deepin安装脚本
wget -O install.sh http://download.bt.cn/install/install-ubuntu_6.0.sh && sudo bash install.sh
Debian安装脚本
wget -O install.sh http://download.bt.cn/install/install-ubuntu_6.0.sh && bash install.sh
Fedora安装脚本
wget -O install.sh http://download.bt.cn/install/install_6.0.sh && bash install.sh
5.9版本
Centos安装命令:
yum install -y wget && wget -O install.sh http://download.bt.cn/install/install.sh && sh install.sh

Ubuntu/Deepin安装命令:
wget -O install.sh http://download.bt.cn/install/install-ubuntu.sh && sudo bash install.sh

Debian安装命令:
wget -O install.sh http://download.bt.cn/install/install-ubuntu.sh && bash install.sh

Fedora安装命令:
wget -O install.sh http://download.bt.cn/install/install.sh && bash install.sh
输入y,进行安装

出现下图则代表安装成功
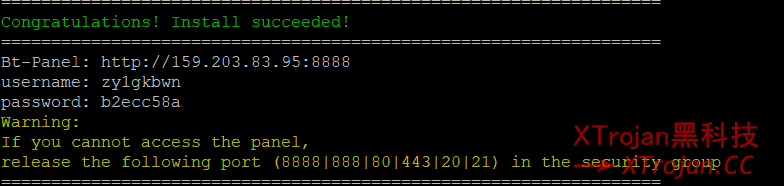
在浏览器输入BT-Panel进入面板管理,只需要选择Nginx安装即可

安装V2ray
下载v2ray
curl -O https://image.google404.org/v2fly/fhs-install-v2ray/master/install-release.sh
安装&更新
bash install-release.sh
重启V2ray
sudo systemctl restart v2ray
开机自启
systemctl enable v2ray
查看运行状态
sudo systemctl status -l v2ray
配置V2ray
在宝塔文件中打开此目录/usr/local/etc/v2ray
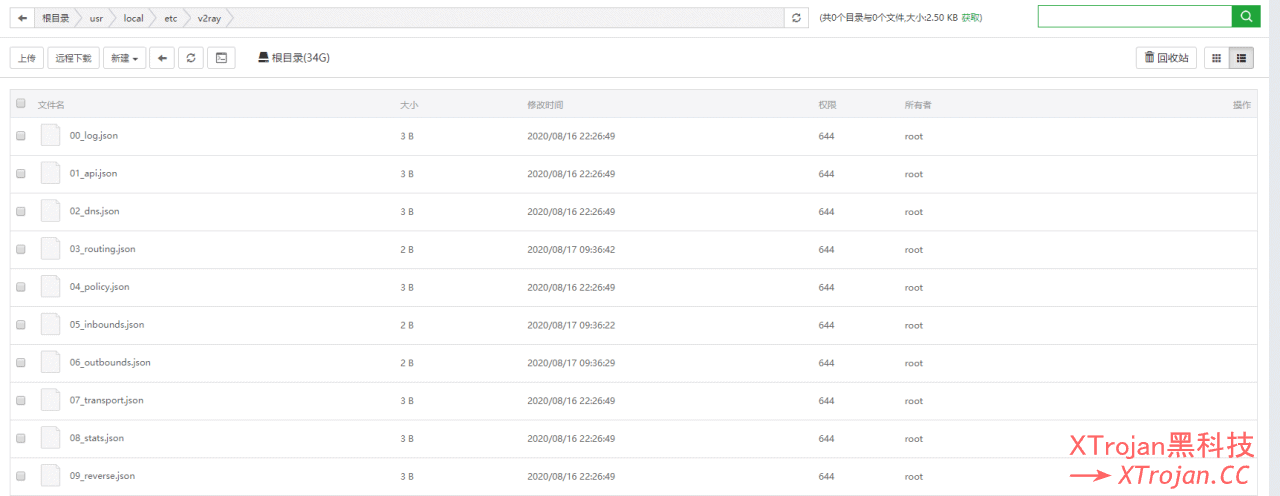
新增一个文件config.json,填入以下内容
port:v2ray运行监听的端口
id:uuid,可以在使用https://1024tools.com/uuid随机生成
{
    "log": {},
    "inbound": {
        "port": 10000,
        "listen": "127.0.0.1",
        "protocol": "vmess",
        "settings": {
            "clients": [{
                "id": "f8123442-a199-4ba3-b66c-3751234fbb47",
                "level": 1,
                "alterId": 64
            }]
        },
        "streamSettings": {
            "network": "ws",
            "wsSettings": {
                "path": "/videos/stream"
            }
        }
    },
    "outbound": {
        "protocol": "freedom",
        "settings": {}
    },
    "outboundDetour": [{
        "protocol": "blackhole",
        "settings": {},
        "tag": "blocked"
    }],
    "routing": {
        "strategy": "rules",
        "settings": {
            "rules": [{
                "type": "field",
                "ip": [
                    "0.0.0.0/8",
                    "10.0.0.0/8",
                    "100.64.0.0/10",
                    "127.0.0.0/8",
                    "169.254.0.0/16",
                    "172.16.0.0/12",
                    "192.0.0.0/24",
                    "192.0.2.0/24",
                    "192.168.0.0/16",
                    "198.18.0.0/15",
                    "198.51.100.0/24",
                    "203.0.113.0/24",
                    "::1/128",
                    "fc00::/7",
                    "fe80::/10"
                ],
                "outboundTag": "blocked"
            }]
        }
    }
}
添加完成功后,使用重新命令跟查看状态判断v2ray是否安装无误,如下图显示active(running)就代表成功了

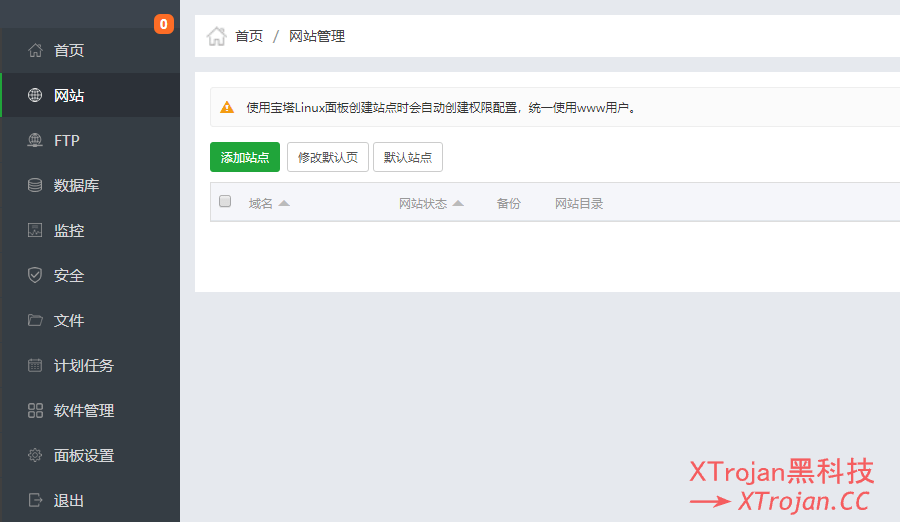
配置Nginx
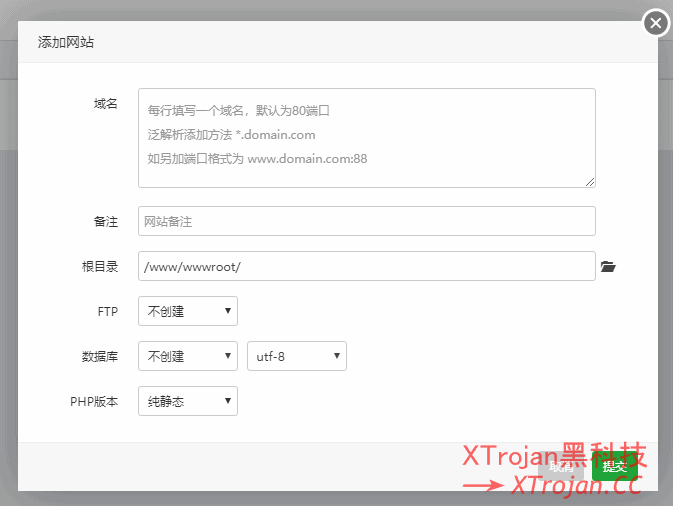
选择网站,新增站点
域名填写解析了V2ray服务的即可
点击刚刚新增完成的站点的设置按钮,选择配置文件加入以下内容
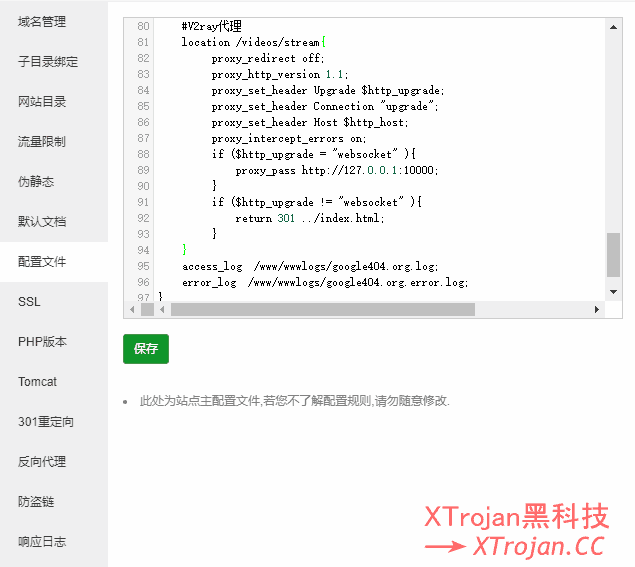
    #V2ray代理
location /videos/stream{
     proxy_redirect off;
     proxy_http_version 1.1;
     proxy_set_header Upgrade $http_upgrade;
     proxy_set_header Connection "upgrade";
     proxy_set_header Host $http_host;
     proxy_intercept_errors on;
     if ($http_upgrade = "websocket" ){
         proxy_pass http://127.0.0.1:10000;
     }
     if ($http_upgrade != "websocket" ){
         return 301 ../index.html;
     }
}
域名申请,选择SSL中的Let’s Encrypt选择文件验证。
到此就已经安装配置完成了>_<
: (6) Could not resolve host: image.google404.org; Unknown error
[root@safe-powder-1 ~]# curl -O sh文件链接
% Total % Received % Xferd Average Speed Time Time Time Current
Dload Upload Total Spent Left Speed
0 0 0 0 0 0 0 0 –:–:– –:–:– –:–:– 0curl: (6) Could not resolve host: image.google404.org; Unknown error
脚本下载不了
源文件已经被作者删了
下载v2ray 脚本出错,是不是地址资源删除了?
换个脚本,你是不是使用香港VPS?
没有,使用的是美国洛杉矶的VPS,新脚本发我一下